
How to make a Wine Cork Notice Board
Saturday, 28 October 2023 Reading time: 3 minutes
Tidy up those bits of paper and feel good about wine consumption with this easy DIY craft project
How to make a Wine Cork Notice Board
I'm not generally regarded as an arts and crafts type of person. Arts, perhaps, especially the musical kind; and crafty, sure, I can identify with that; but put the two words together and generally thats's enough to make me run for the hills.
However I've been collecting wine corks for seemingly forever, and the last couple of years I've been assiduously putting off this project, until last weekend when I said to myself, you know what, get it done. And so I did.
I'm amazed it turned out so well, so the least I could do is share with you how easy it is to do for yourself.
What you will need
Like any good online tutorial, we begin with the ingredients. You will need:
- A large, blank photo frame - mine has a frame internal area of 3500 cm2
- A lot of glue - I used spray on but paste will work fine I guess
- A Stanley knife (AKA box cutter, or utility knife)
- A small person - but not so small they can't be trusted with a Stanley knife
- About 1 cork per 9 cm2 of frame internal area
- you can use both halves of the corks if your corks are interesting on both sides
- if so, you can go with 1 cork per 18 cm2 of frame internal area
- Have a handful of extra corks as well, to allow for bad cuts and breakages
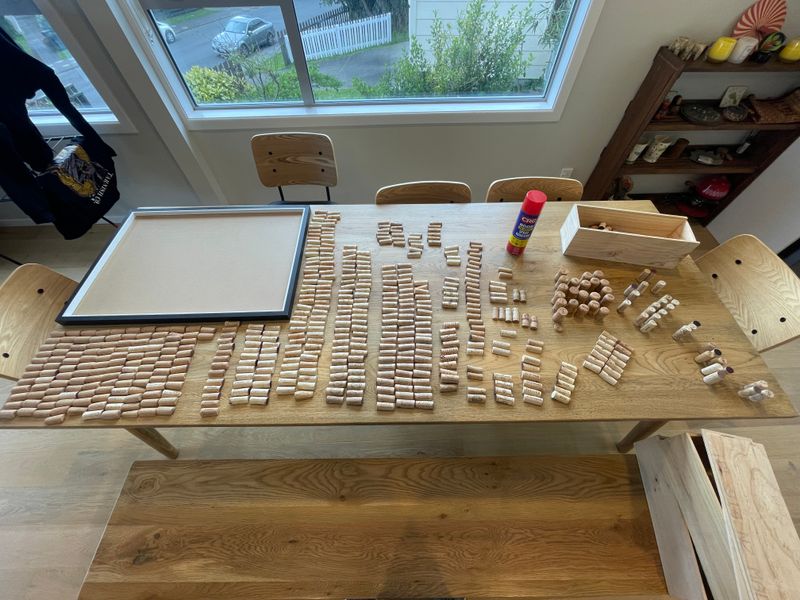
Method
- Sit your small person down with the Stanley knife and the corks
- Instruct small person to cut the corks length ways, preserving the most interesting details
- Cutting corks is easier if you cut multiple times...
- cut the whole length each time
- only cut a a third of the depth each time
- three shallow cuts is much easier that one full depth cut
- Set to one side any offcuts
- If the frame has glass, take that out so you just have the backing board and the frame
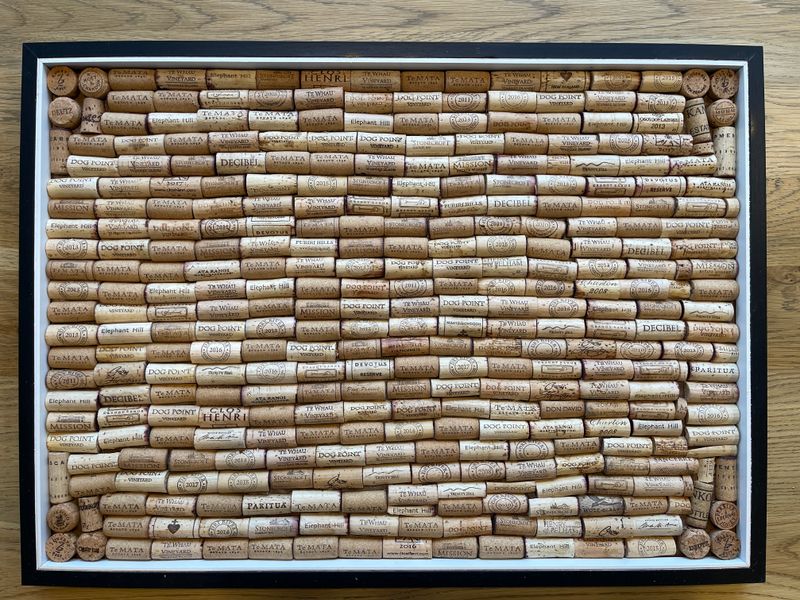
- Test any features you plan to have, like champagne corks in the corners
- Glue in the feature pieces in the desired locations
- Spray an area on the backing board about as big as your hand, then fill it with the feature
- Be generous with your glue!
- Check you have enough corks to fill the left over space in the frame
- You are aiming to fill horizontally edge to edge in the gaps between the feature pieces
- Remember to fill all the gaps, using offcuts cut to shape
- Starting top left, glue in the remaining corks length ways with interesting text facing outwards
- Aiming to fill the frame top to bottom left to right with straight corks when possible
- Glue offcuts in the small gaps that inevitable appear until there are no gaps left
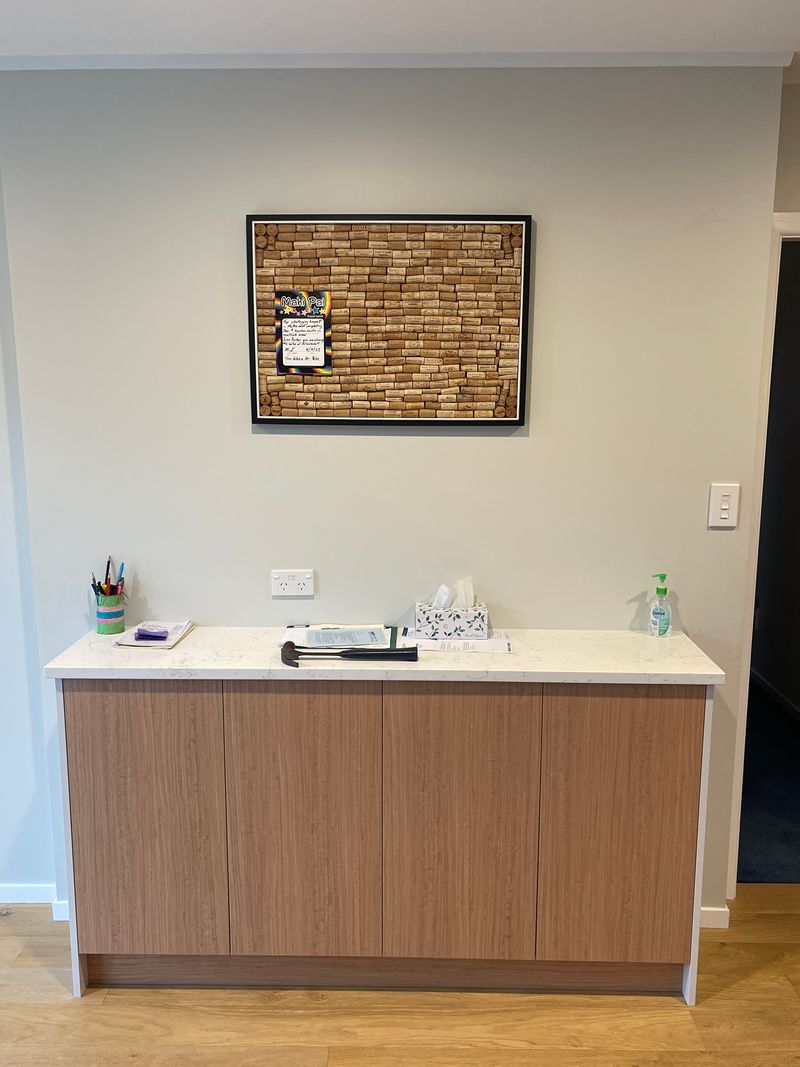
Installation
OK all that is left to do now is install it on your wall. You may also like to pay your small person.
Use a stud finder to find a suitably strong part of the wall, then measure carefully to get the notice board square and level in your space. Hang it, and enjoy the tranquility of being able to pin random bits of paper on the wall!